Key Rules for Styling Floating Shelves
-
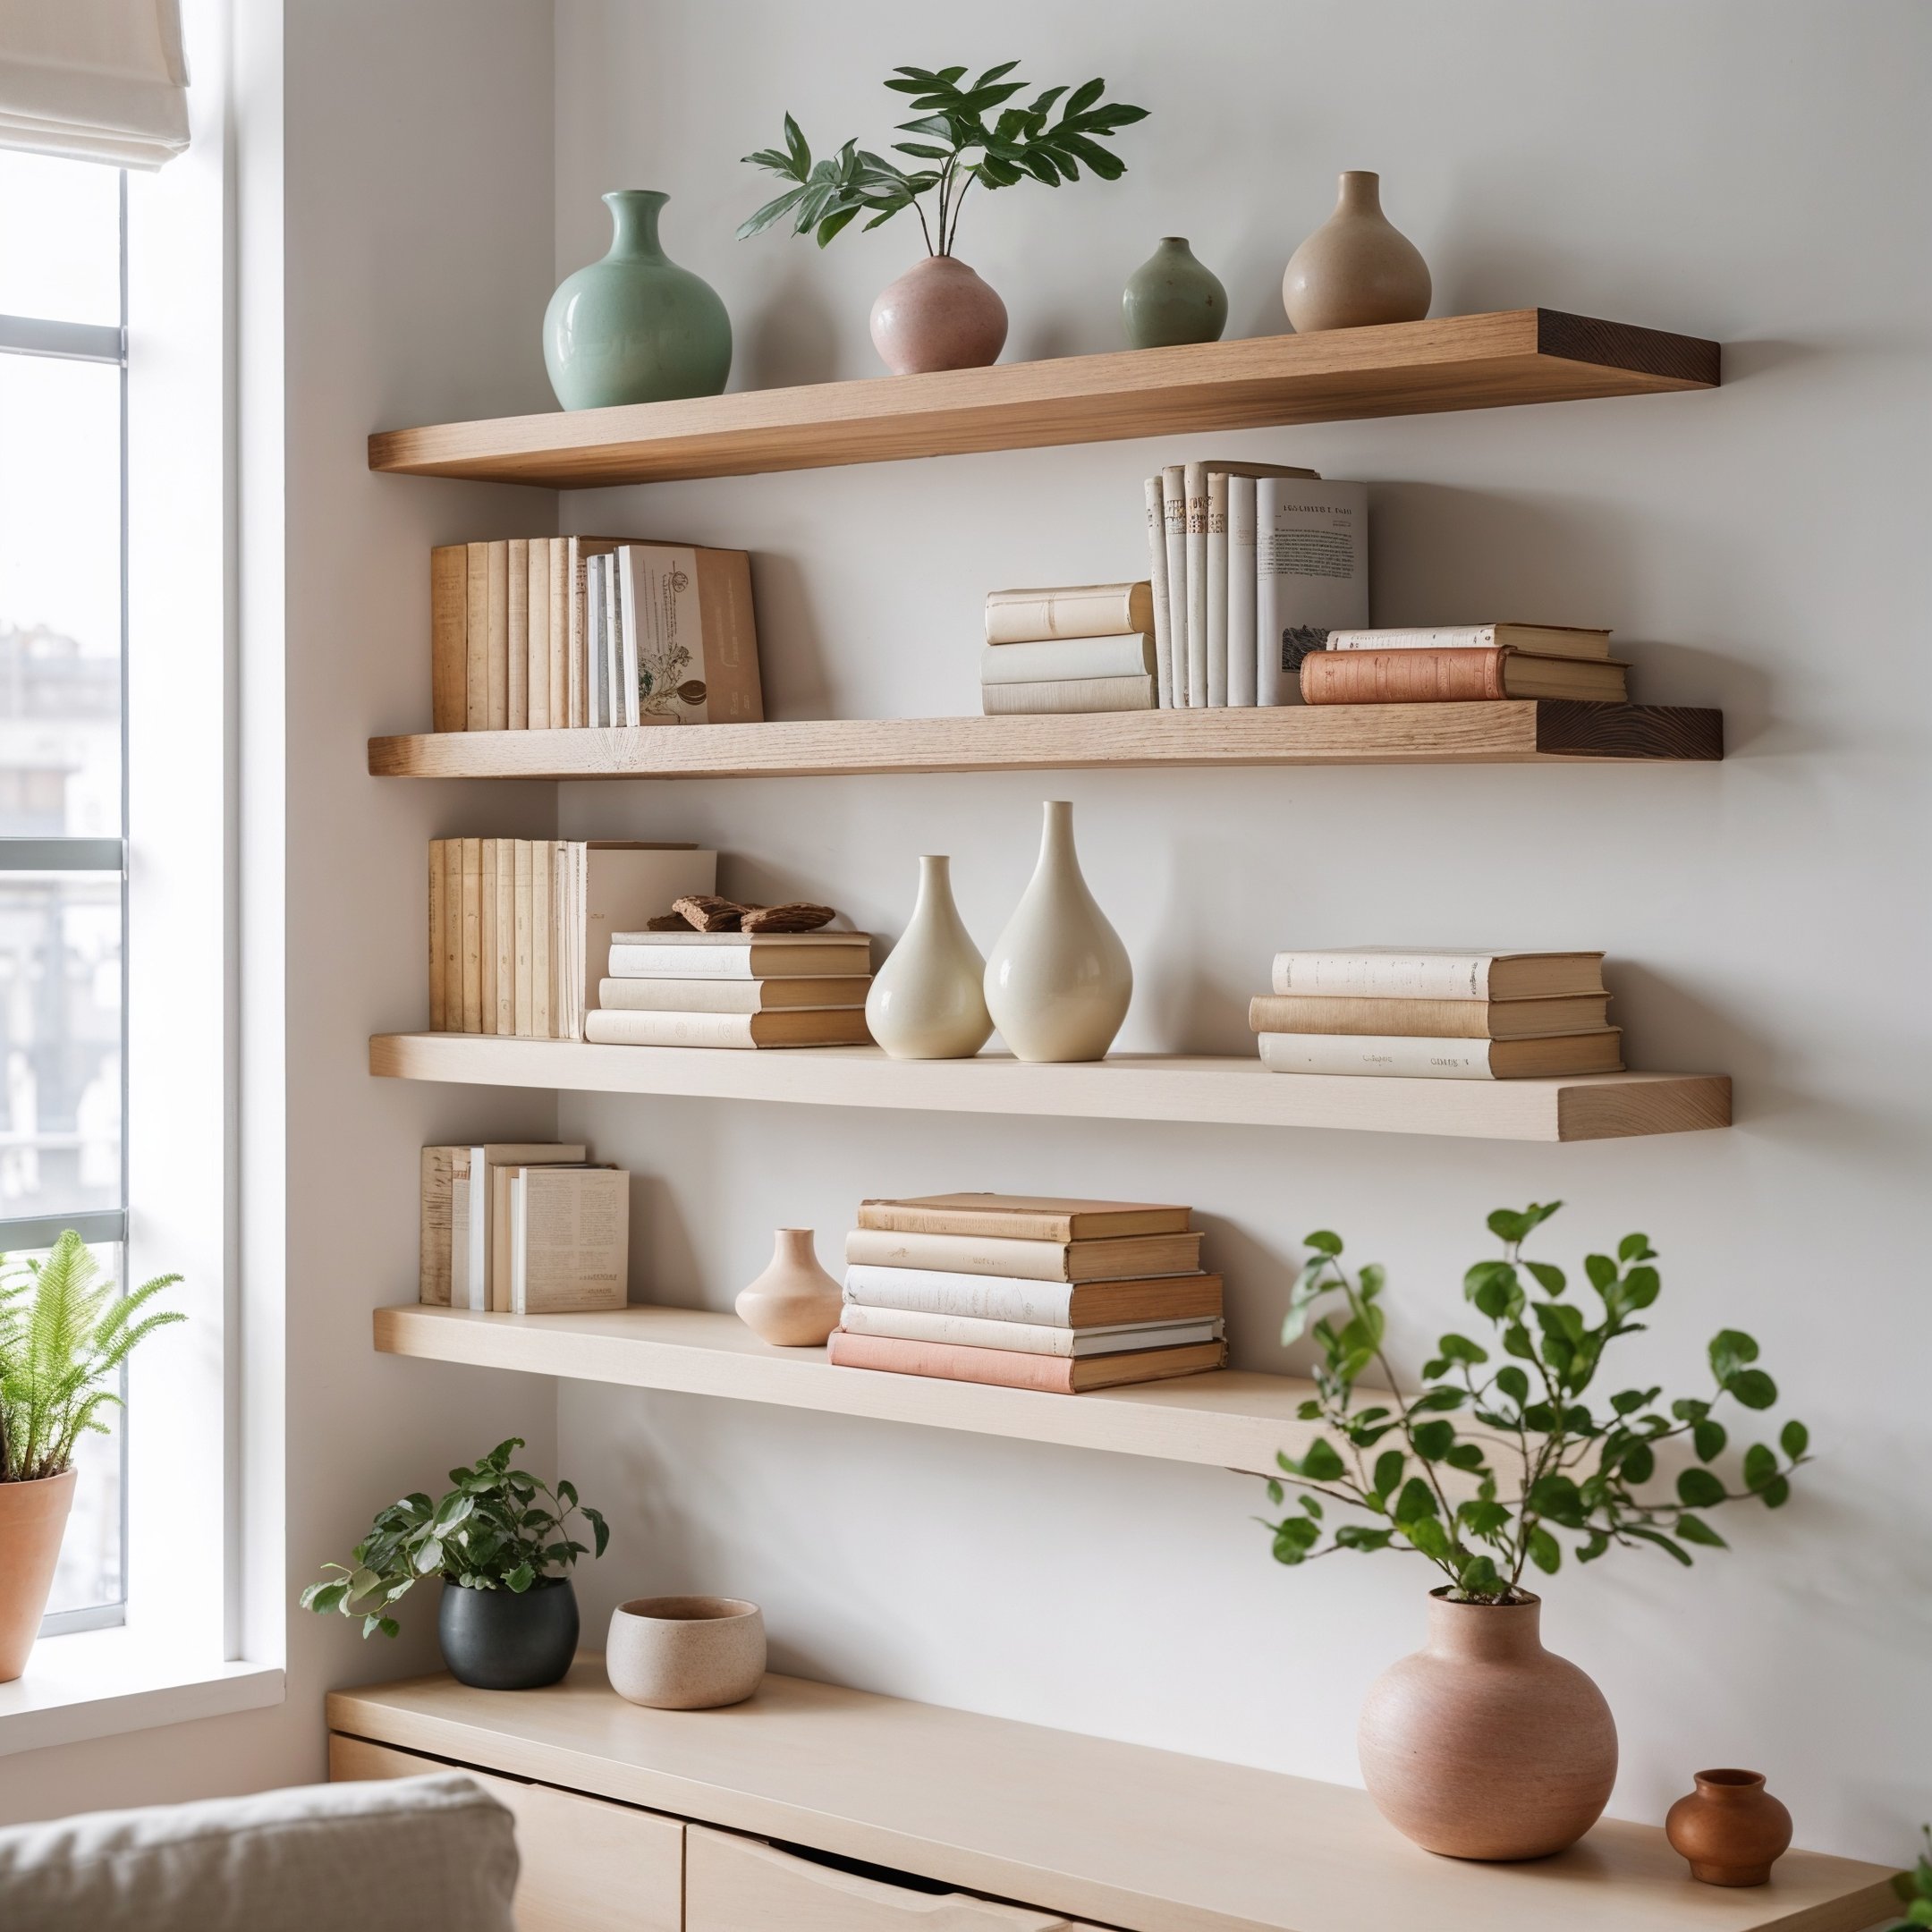
Balance is Essential: Achieve balance by mixing objects of varying sizes and shapes without overwhelming one side.
-
Use Odd-Numbered Groupings: Items grouped in odd numbers (such as sets of 3 or 5) naturally create more interest and depth.
-
Layering is Key: Layer objects by placing smaller pieces in front of larger ones to add dimension.
-
Mix Textures and Materials: Avoid monotony by incorporating a variety of materials, such as wood, metal, ceramic, and glass.
-
Negative Space Matters: Leave some open areas to give the arrangement breathing room and avoid clutter.
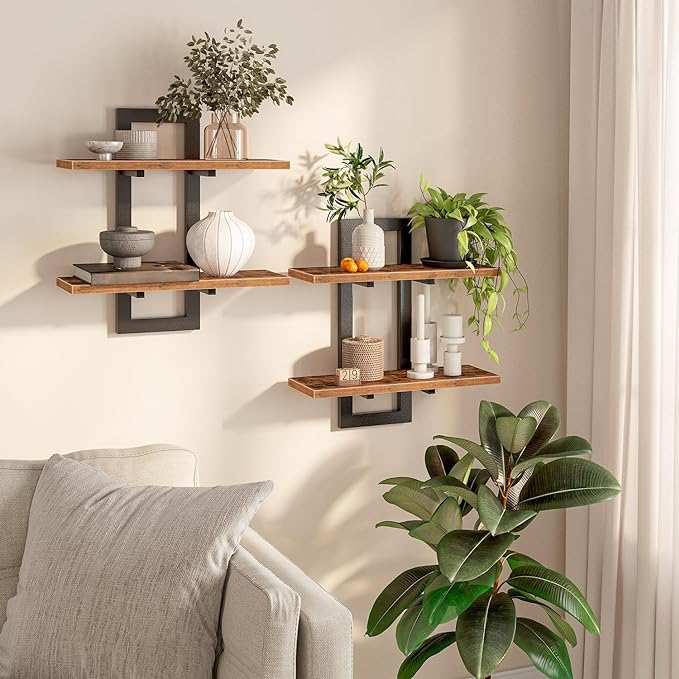
Wall-Mounted Storage Shelves 2-Tier, Rustic Brown
Step-by-Step Guide to Styling Floating Shelves
Step 1: Clear the Shelves and Set a Vision
Start with a blank slate. Remove all items from the shelves and take a moment to envision the look you want. Consider your room’s overall theme—are you aiming for minimalist, rustic, bohemian, or modern chic?
Pro Tip: Gather decor items that fit the vision and test different combinations on the floor before arranging them on the shelf.

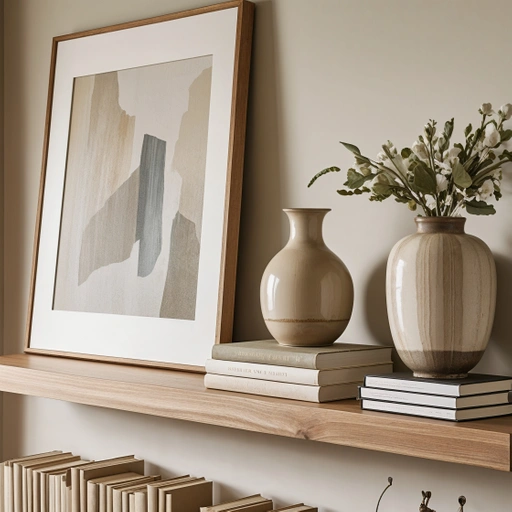
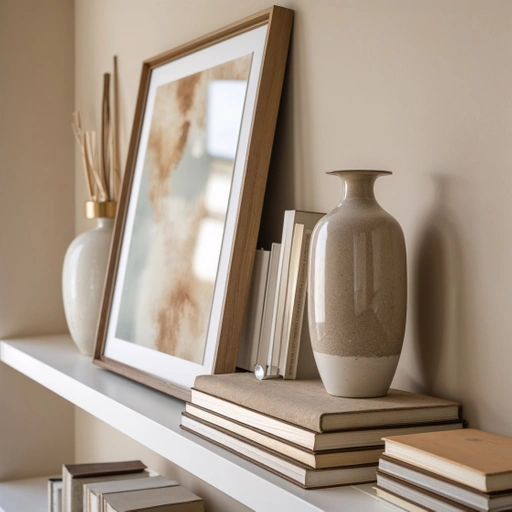
Step 2: Begin with Anchor Pieces
Anchor pieces are the foundation of your arrangement. They tend to be larger and more eye-catching objects that draw attention and ground the design.
Examples of Anchor Pieces:
-
Large framed artwork or photos
-
Decorative vases or jars
-
Stacks of books arranged horizontally or vertically
Pro Tip: Lean a piece of artwork or a large frame against the wall for a relaxed, layered effect.
Step 3: Add Height and Dimension
Incorporate items of different heights to create dimension and prevent the display from looking flat.
Suggestions:
-
Tall vases or candlesticks
-
Potted plants of varying sizes
-
Sculptural decor pieces
Pro Tip: Use small stacks of books as pedestals to give shorter objects more height.
Step 4: Group Objects Thoughtfully
Arrange objects in odd-numbered groupings for a natural and appealing look. Within these groupings, mix shapes, sizes, and materials.
Example Groupings:
-
A vase, a candle, and a small framed photo
-
A stack of books with a decorative bowl on top
-
A plant, a sculpture, and a glass jar
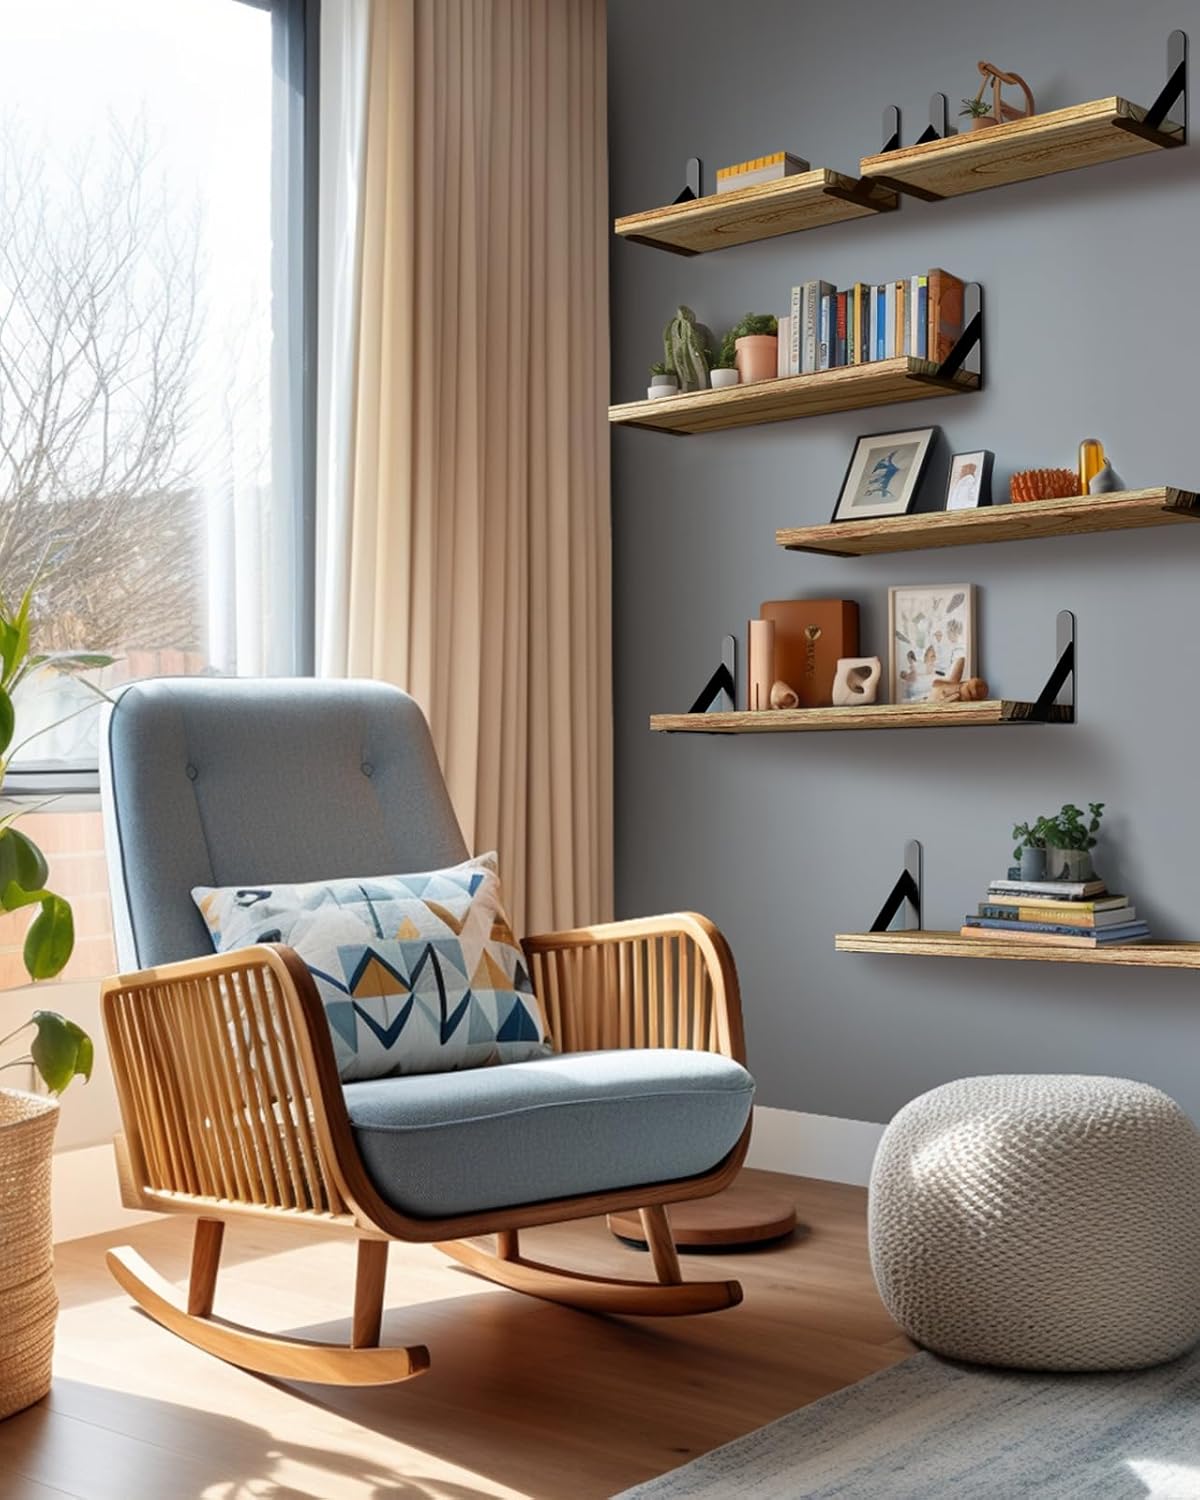
Rustic Farmhouse Wood Floating Shelves (Set of 6)
Step 5: Incorporate Color and Texture
Color and texture bring your display to life. Stick to a cohesive color palette that complements your room, but don’t be afraid to add a few contrasting accents for visual interest.
Ideas for Color and Texture:
-
Neutral tones with pops of greenery
-
Textured ceramics paired with smooth glass or metal
-
Soft woven baskets or fabric accents mixed with glossy finishes
Step 6: Include Greenery or Natural Elements
Plants and natural elements add warmth and softness to any shelf display. Choose a mix of trailing plants and small potted greens for variety.
Recommended Plants:
-
Pothos or ivy for trailing greenery
-
Succulents in small pots
-
Fresh or dried flowers for a seasonal touch
Step 7: Layer for Depth
Layering objects creates a sense of depth and richness. Place smaller items in front of larger ones, and don’t be afraid to overlap.
Layering Examples:
-
A candle in front of a framed photo
-
A small vase next to a stack of books
-
A trailing plant cascading over other objects
Bohemian Vibes
Minimalist Chic
-
Monochrome books with clean, neutral spines
-
White ceramic vases or bowls
-
A small trailing plant for a touch of green

Styling Examples for Inspiration
-
Woven baskets and wooden decor pieces
-
Colorful, vintage books stacked loosely
-
Hanging greenery like pothos or ferns

Modern Contemporary
-
Sleek metallic accents (gold, black, or brass)
-
Abstract sculptures or geometric decor
-
Glass vases with minimalist floral arrangements
Once you’re satisfied with the arrangement, step back and take a moment to appreciate the transformation. The beauty of floating shelves lies in their ability to be both functional and decorative, creating a statement that reflects your personal style. With just a few anchor pieces, pops of texture, and strategic groupings, you can turn empty shelves into curated displays that instantly elevate any room.
Remember that shelf styling is an evolving process. As your tastes and seasons change, so can your shelf decor. Rotate items periodically to keep the look fresh and exciting. Don’t be afraid to experiment with new arrangements, colors, or materials—after all, great design is often the result of playful creativity.
Whether you prefer minimalist, bohemian, or modern aesthetics, the key is to make sure your shelves feel cohesive and balanced. And if you ever feel stuck, simply follow the steps and examples provided in this guide to create stunning, picture-perfect displays every time.
Happy decorating, and may your floating shelves always inspire and impress!
This website contains affiliate links, which may result in a small commission being earned when a purchase is made through those links, at no additional cost to you.